Deploy Immuta

To synthesize the material covered in this lesson, you will deploy your own Instance of Immuta on a Single Docker Node or Kubernetes.
Single Node Docker Installation
Note: You must be using a supported Linux environment to complete the tutorial below. If you’re not, simply read the Immuta documentation and corresponding resources for a Docker installation.
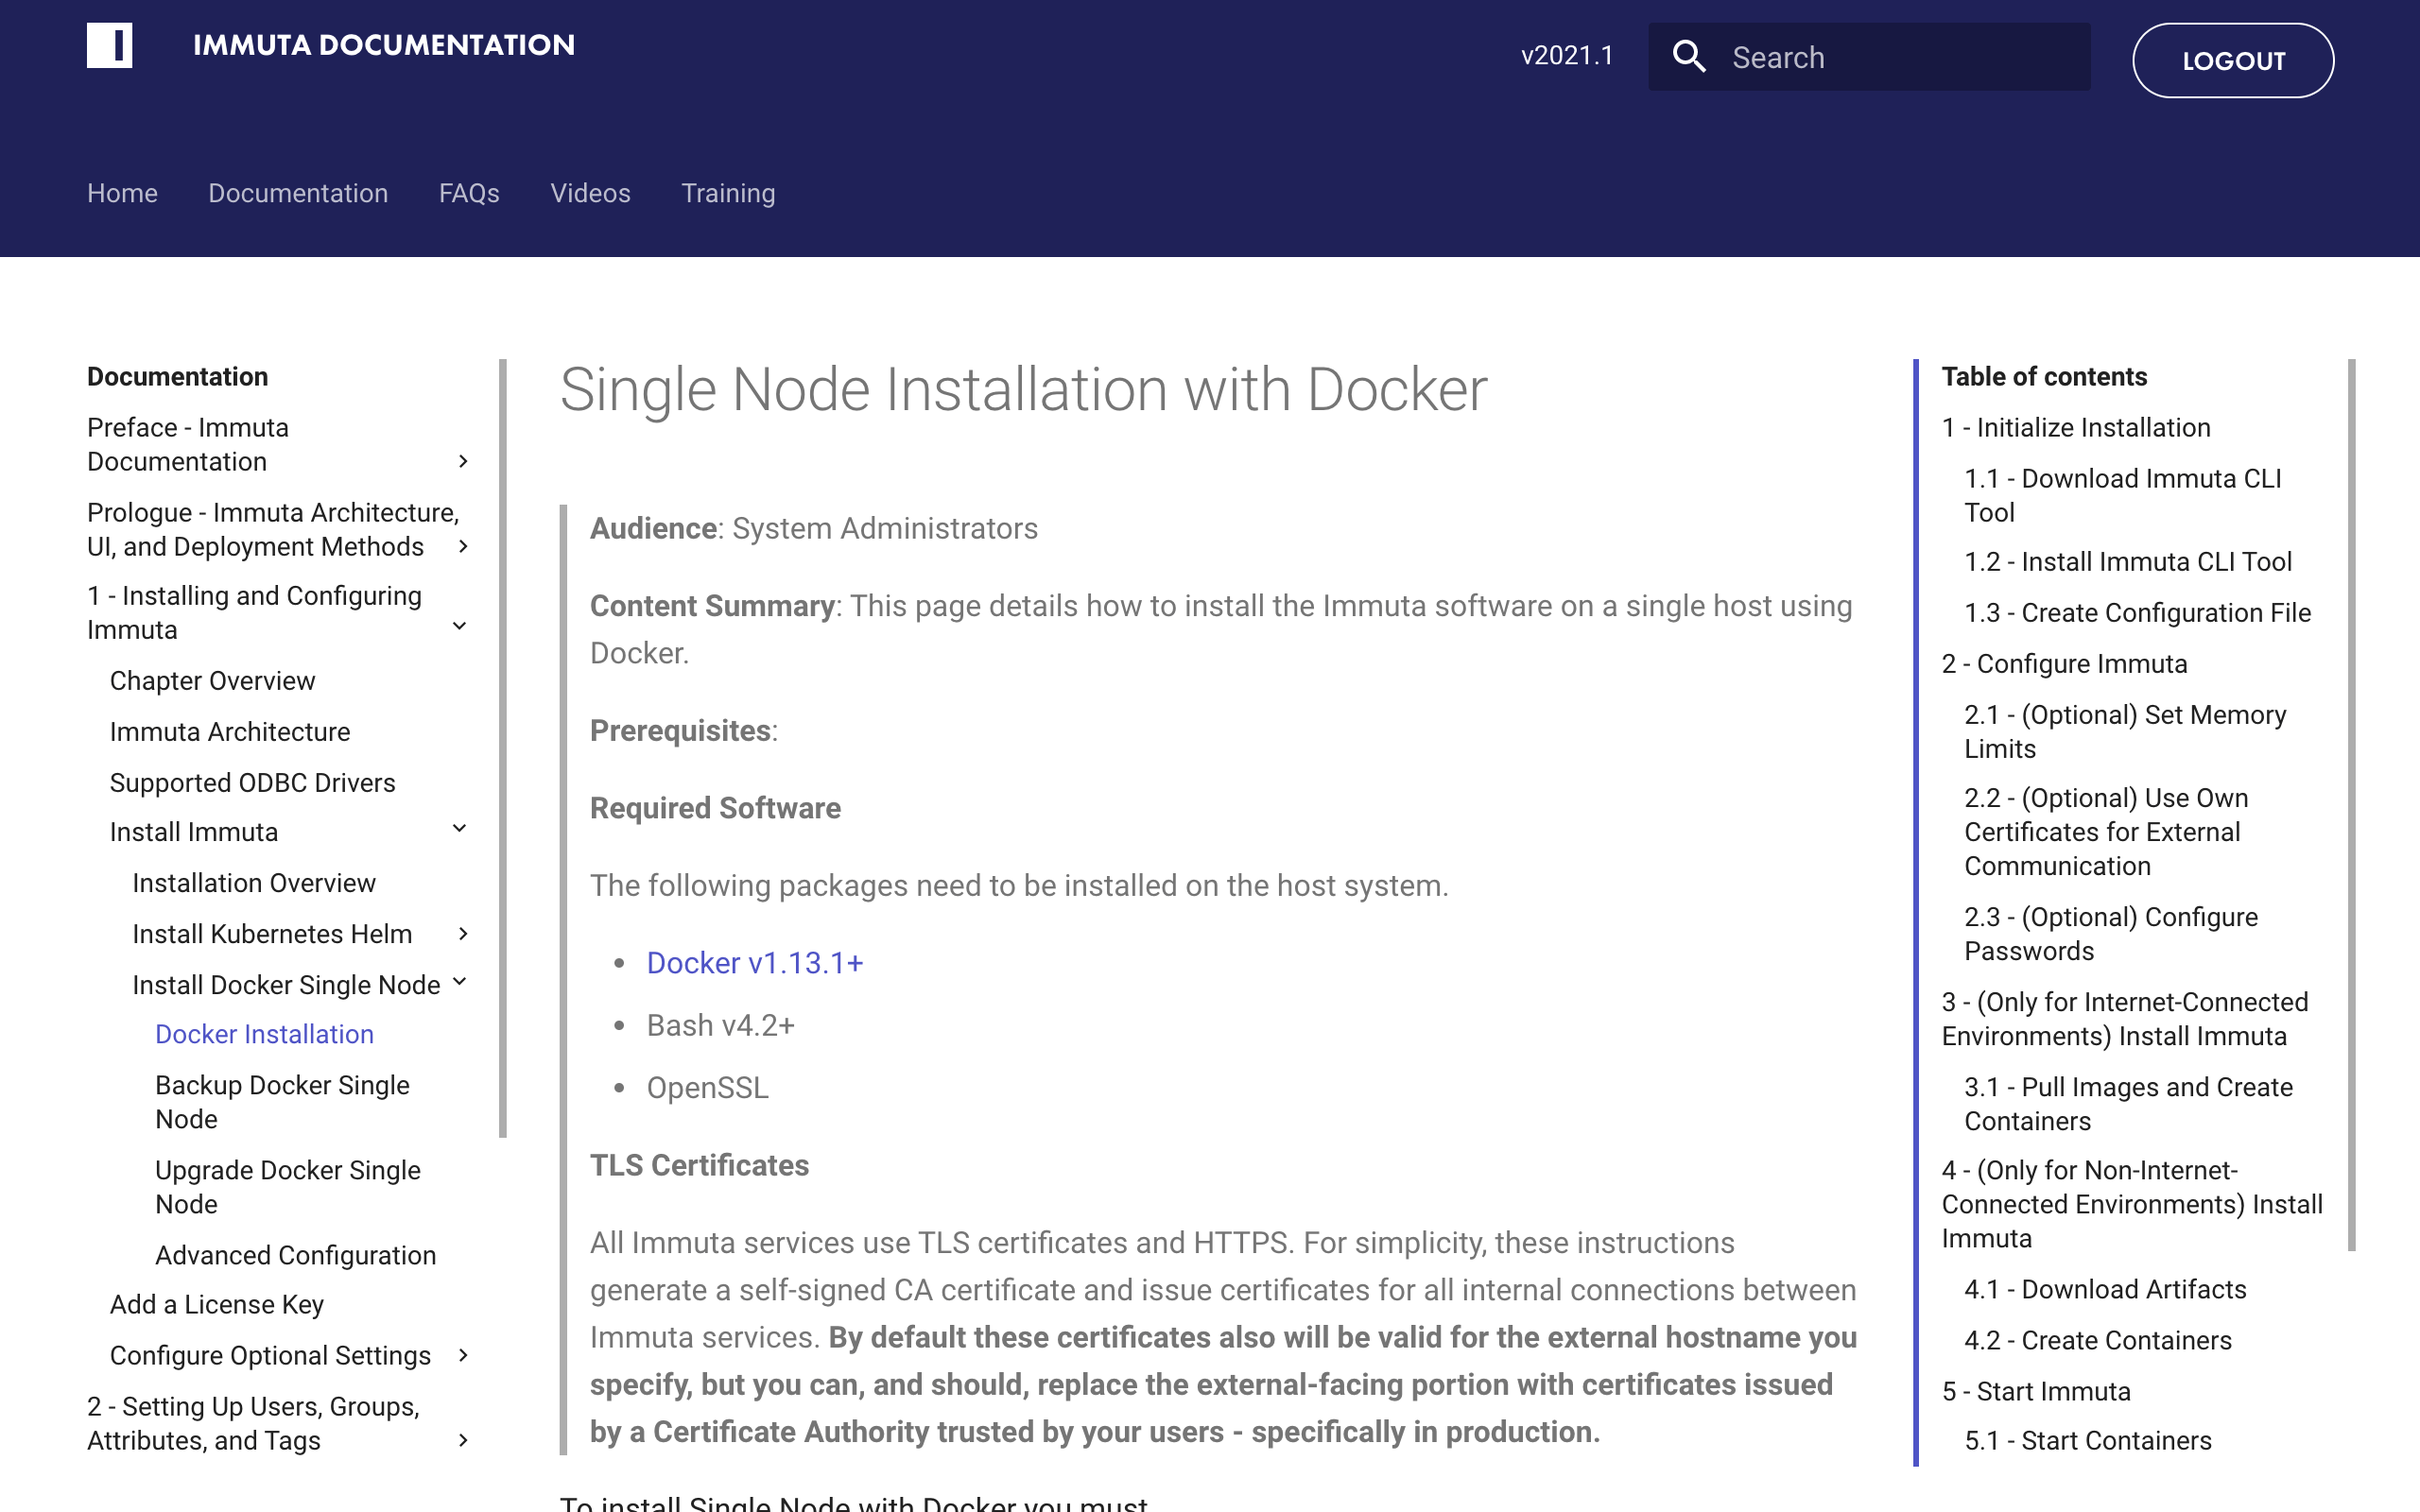
To complete a Single Node Docker installation of Immuta, follow the tutorial in Chapter 1 of Immuta’s documentation.

Kubernetes Installation
To understand the Kubernetes deployment, this section comprises two activities:
- Read the installation guide.
- Watch a Kubernetes installation.
Kubernetes Installation Guides
Before viewing the video, read Immuta’s Installation Prerequisites and Kubernetes Installation documentation and consider the following questions:
- What does Immuta use to manage Kubernetes deployments?
- What is the minimum number of nodes required in the default deployment of Kubernetes?
- Where can you find solutions for common issues/troubleshooting with this deployment?
Installation Working Session Video
In the working session video below, an Immuta engineer leads a local deployment of Immuta using Kubernetes.
Troubleshooting Deployment Issues
Because of variables and “unknowns” in customer environments (unlike in isolated environments, such as local installations of Immuta), you may have to troubleshoot challenges you encounter. Below is an outline of resources and common commands to help you navigate the troubleshooting facet of an installation.
Docker
- run the command
docker infoto discover useful information about the customer’s setup - Docker compose CLI Overview
Kubernetes
- Immuta Documentation
- As detailed in Immuta Release Portal, you must create a Kubernetes Image Pull Secret in the namespace that you are deploying Immuta in, or the Pods will fail to start due to
ErrImagePull. - Run
kubectl get secretsto confirm your Kubernetes image pull secret is in place - Kubectl Commands Reference
kubectl get pods- check the logs using
kubectl logs <container> -p